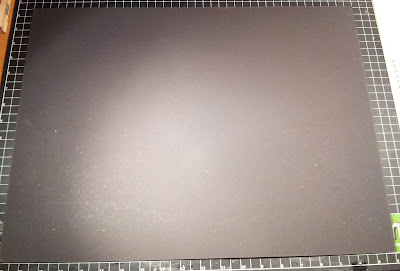
I have several comments asking for dimensions and how-to's on my blending pad books. Click here for the first post. I have put together a few pictures to help you create your own!
I cut the sheet down to 20 inches long, and 10 inches wide. The spine is 2 inches wide. I marked the spine with pencil from the left side at 9 inches and again at 11 inches.
I decorated the outside first with some designer paper from SU! and wrapped the paper around the edges into the inside of the book. Once the outside was finished I used some sparkly silver paper on the left inside, right inside and a smaller piece for the spine.
I am sure you think the ink will transfer from one pad to another, honestly, the spine is wide enough they don't even touch each other. I have not had an issue. I really love this project. I don't dread searching for the correct pad anymore, and I don't have to worry about smearing the wrong color on my current card. It also shows me which colors I use the most, and which colors I shy away from. I left space on the last page for additional colors and growth! I have used a label maker to add additional colors. I hope this has helped! Enjoy, feel free to ask me any questions, I will be sure to answer you!


Hi Cindy, Thanks so much! This is very helpful!
ReplyDeleteCharlene