5.21.2020

Distress Ink & Oxide Color RBG Codes & Stickers

Hello,
I created RBG codes for the first 24 (first 2 releases) of the Oxide colors back in early 2018. Click here for that post:  HERE. I never did get around to completing ALL the distress colors (all 61). As of yesterday, Tim and Ranger have announced that there will be 12 more colors coming. Just announced was Speckled Egg! It's perfect.
Recently, there has also been many crafters who are creating large blending swatches. This in turn, got me thinking about swatches for myself. The current project that I am on involves blending too. SO, I decided to take the project on!


How did I do this: First, I could not find a text list of all the 61 colors? Anywhere? I had to create it! Then, I imported all the color samples from Ranger's catalog into CorelDraw and converted all the colors into an RPG code. This way I can represent all the colors digitally as closely as Ranger did. Then I miniaturized each sample dot into a sticker sheet that I can cut apart and use to create my blending swatches. I wanted to share my hard work. Yes, it took hours, but I think it was relaxing and totally worth it. I am very engrossed in distress inks currently. I bet you are too!

Click on the purple buttons to download for free:


Thanks for stopping by. I hope my creations are helpful.

5.18.2020

How to use your cricut to make distress masks!

Hello,
Welcome back! I am always on the look out for ways that I can use my cricut to help me make cards. I love when I think of ways to incorporate the two together to achieve a tool or task that I could not make on my own or even purchase in a store! I LOVE this hack I made!

I decided I wanted to make a series of 4 by 4-inch panels and turn them into smaller cards for my co-workers at school (when we do go back to school). But I did not have a mask that I could use to mass produce the panels, so I created one, and made my cricut do all the marking!


In my design space I create this square. The outer square was a cut line. The next biggest square was a DRAW line. I purchased a pen adapter from Etsy for SHARPIE ULTRA FINE markers. I placed a black marker in my pen holder for that line. The smallest square is a CUT line. I took a piece of white cardstock, and ran it through my laminator. This gave the sides of the mask a slick surface, and will extend the life of the mask. I did try this without using laminated paper, and I was not able to blend colors as well. (go figure?!) Below is the Item I created. 


The outer square is 5.25 by 5.75.  The DRAW line is 4 inches by 4 inches centered. The smallest opening is 3.25 by 3.25 centered. I love that design space can do that for me.


Cut out a piece of Neenah white that is 4 inches by 4 inches and line it up with the black line that the cricut drew on the mask. I use LOW tack tape that is easily removed and can be used again. Flip your mask over. Blend any ink colors you wish. I used the four colors you see in the picture.


When I was happy with the blending, I left the cardstock in the mask. I distressed it with a bunch of Tim Holtz stencils and a darker color ink. I love to splatter it with black spots too. I am getting the hang of the bristle brushes. I do not own the Tim Holtz brushes......yet.


Here is an example of a finished card. I took the mask off to stamp the butterfly. I matted it on pink cardstock and I am done! This card was very quick to make, and I enjoy the distressed look.


Here are a few more blendings that I completed. I ended up cutting 10 masks, so that I could complete 10 at a time without having to remove the masks. I will finish these smaller cards in no time! Here is a link to my cricut mask. You must have your cricut design space installed to view and save my mask. LINK: Cricut masks
Kristina Werner has a whole video and post featuring many of her favorite blend combinations. I just like having fun! Thanks for dropping by. Please leave a comment, it would make my day!


4.25.2020

Fussy cutting

Hello,
Welcome back. I HATE fussy cutting. Seriously. I just don't do it. Some people say they find it relaxing, and therapeutic. No....not me.

But, I wanted to give this look a try. It seemed easy enough and yes, I had to fussy cut a bit. Take a look:


I actually gobbed up the center card so I sprinkled it with pink ink to cover it up. It looks totally intentional now! This set from from Altenew as well! I am getting handy with the masking magic!
I colored these with colored pencil and gamsol. I hadn't used those in a while. Coloring in small sessions is a bit relaxing for me. LOL
Thanks for stopping by.

4.23.2020

Tim Holtz is on a HOT streak!

Hello,
Thanks for stopping by. With the nation/world on stay at home orders, Tim Holtz has been doing MANY facebook live videos. Although I truly adore him, and I have embraced many of his techniques and I own TONS of his products, I am not glued to the computer when he is on live. I watch for a bit, and they move on. No one really notices that he does not CREATE anything in full. There is never a finished product in the end. It is almost as if he CAN'T complete a full creation ever. He leaves that up to all his creative team, I suppose. It's funny how no one really notices that....but me. He simply shows techniques that I already know, or don't interest me.
However! I do adore all his inks, stains, paints, oxides dies, stencils, stamps and hopefully (when I have more $) his glazes!
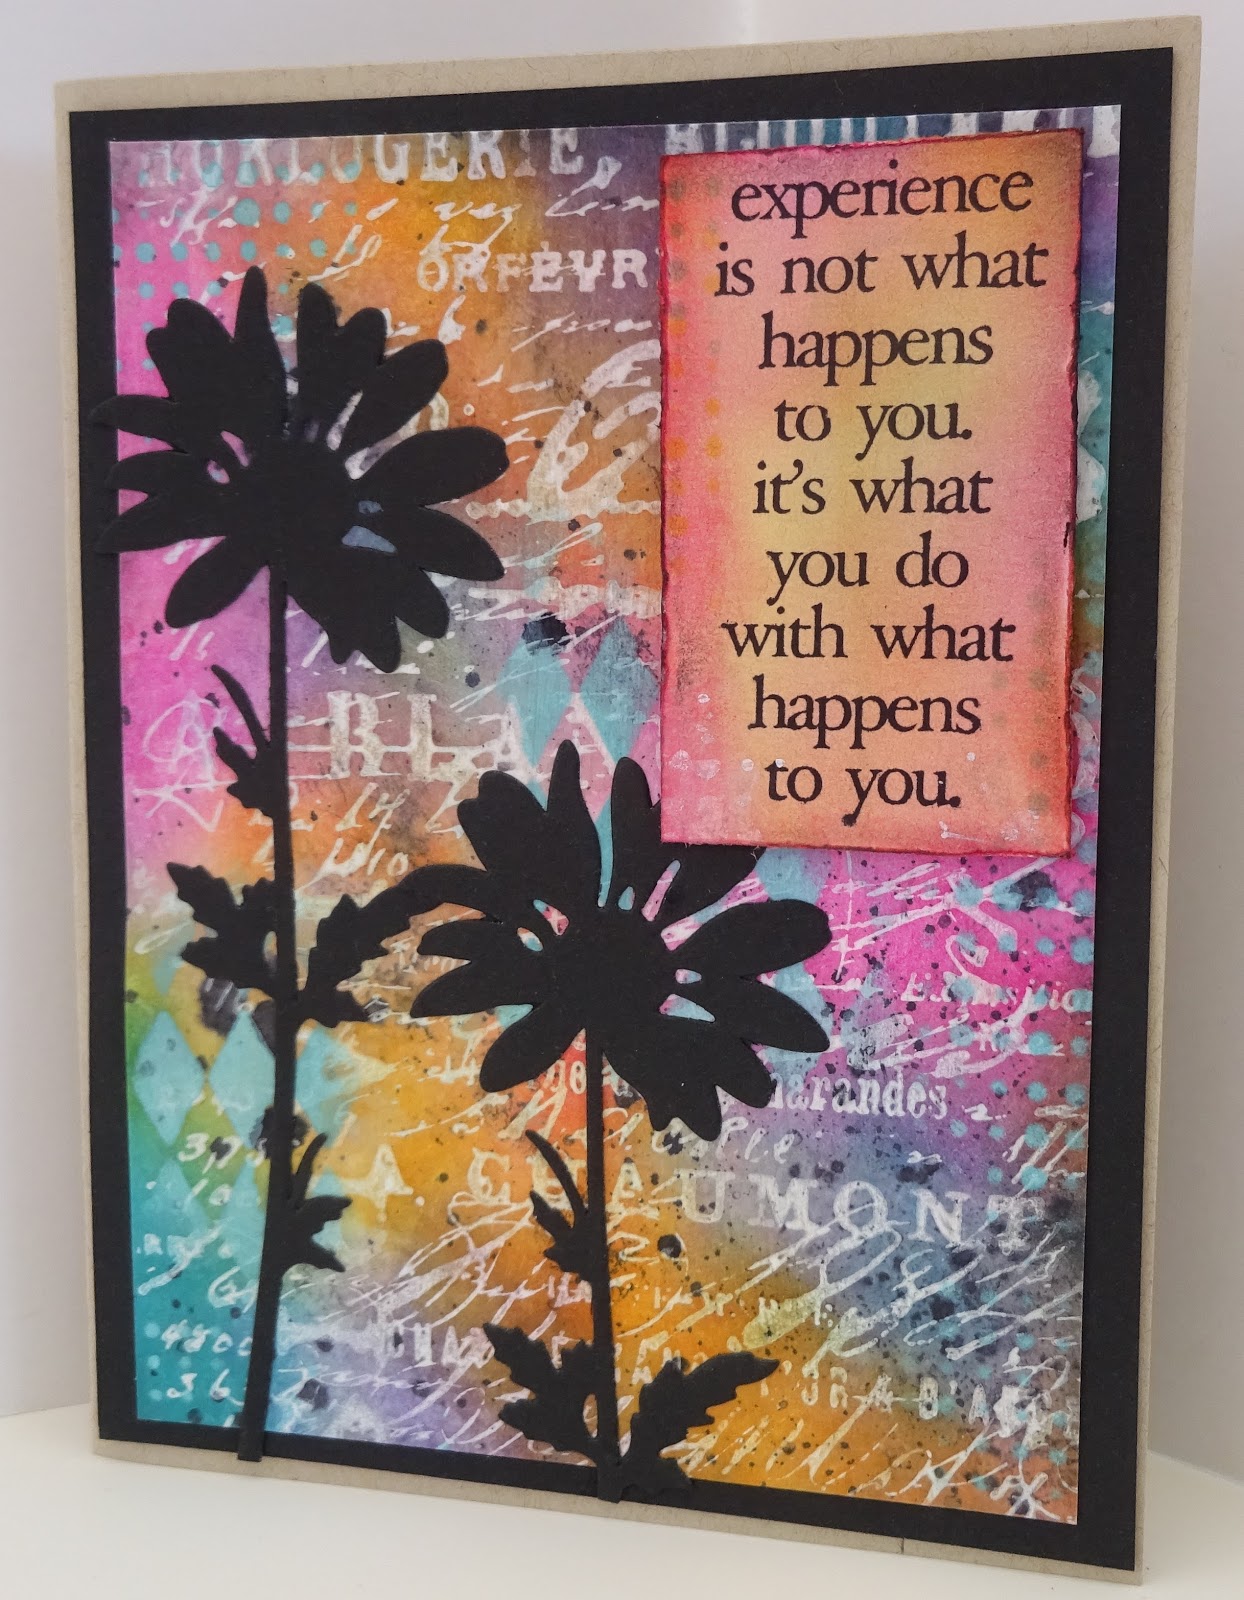
But I always go back to his wildflowers when I am stuck creatively. Take a look:


I know these look very similar to a post I had a few months back, but I saw this sentiment on someone else's card, and I HAD TO HAVE IT! I placed an order just for this set! I actually created these cards and left the space open on each card so I could finish it off with this sentiment when it arrived in the mail. Have you done that before? New to me.  Lol.
I also die cut these flowers from some alcohol inked backgrounds that I din't know what to do with! They made great flowers!
Thanks for stopping by, leave a comment. It would make my day!

4.21.2020

Lucky find!

Hello,
I am so glad you are here. I often go on the facebook marketplace to see if anyone local is destashing any supplies for my crafting room. I found a woman who was parting with a mess of older stamp sets from companies that I have never heard of. She wanted no money, it was a porch pickup. I grabbed it!

Many of the stamp set were of no use to me. Companies like Autumn Leaves, Studio Calico, and some studio G mini sets. But at the very bottom was one set that I really liked. It had no name or brand that I could discern. Take a look:


It had a few shapes with writing inside the shape. I want to say it was a older fiskers set.  So I grabbed the flower and created a matching set of cards. I bought masking magic sheets and created masks so I could overlap the image and color around them with distress inks. Aren't they cool? I adore this one stamp, and I think I will use it again. The rest of the stamps, I think I will pass on to someone else.
Thanks for stopping by, please leave a comment. It would make my day!

4.19.2020

Lots of time at home

Hello,
I am glad you are here. I have more time to post on my blog, so I thought I would show you a few of my recent cards.

I have really enjoyed watching Jennifer McGuire's posts and videos. She makes everything look so easy and beautiful. She showcases many of the latest ALTENEW flowe sets.  I recently purchased a second set from ALTENEW. I have the vintage rose set that I thought I would love. I don't like it at all.

Years later they came out with a Stamp/die/stencil matching set that I thought was perfect for me! How can I go wrong, right?! It is now a go-to set for me. I wish it had some layered stamps in it, but ohh well. I have found new ways to use this set.
Take a look.
 I used distress inks for the background, and the Altenew flowers in the opposite corners. The Sentiment is from Picket fences. I adore big bold sentiments.
 Same stamp set, this sentiment I believe is a HERO arts that I pulled off a wooden block. It is so retired. I water colored with distress colors.
 Same stamp set. This is another picket fence sentiment. A more masculine design is what I was going for.
 All three cards together. Thanks for stopping by. I would love a comment if my cards inspired you!
See you again soon.

1.14.2020

Altenew & Jennifer M. inspiration!

Welcome,
I saw this set of matching stamps, dies and stencil from Altenew, and knew I had to have them! I splurged and placed them together under the Christmas tree. I just had to wait until after Christmas to open and play!  Take a look:


I also purchased the life changing brushes and the Masking Magic sheets to create these. I duplicated Jennifer McGuire exactly to get the hang of the stencils, masking and brushes. I love the look! Thanks Jennifer! You Rock! There are so many other ideas I have for this set! So excited! Thanks for taking a look. See you soon!

Card Recipe:
Stamps: Poppy Garden Stamp (Altenew) Sentiment: Trust is (CAS-ual Fridays)  Masking: Poppy Garden stencils (Altenew)  Ink: TH distress inks Paper: Neenah Solar White   Others: Life Changing brushes

1.12.2020

2020!

Welcome back!
The second half of 2019 flew by in a whirl wind! I am proud to say that I am a Regular Education 6th grade math teacher! I have been so busy switching over, my crafting has taken a back seat. I believe 2020 will bring a nice balance and my posts will be more regular!
Take a look:

 These two panels were done on Photo paper and coated with a clear acrylic sealer spray.

I drew my inspiration from a post by Melissa. I thought I would give her technique a try and I really had fun! Tearing paper is a hit or miss technique, but so I did some cards with, and some without.
Thanks for stopping by! Leave a comment, I would love to hear from you!
Card Recipe:
Stamps:  Dandelion Wishes (Picket Fence)  Sentiment: Celebrate (HA Happy Birthday)
Ink: TH Distress inks  Paper: Water Color Paper Generic  Colored Paper: SU!

6.29.2019

Thinking about Next year!

Welcome back,
Last year I made the cutest mini-cards to welcome new staff to our middle school. I wanted to get a jump on them this year, because we have SO many new staff coming in! All 15 came out very cute. Take a look:


To create this card, I used a retired Concord and 9th turnabout stamp that I adore. I have a bit of trouble aligning the stamp properly. I went to their website and ordered the turnabout jig and a new template to hopefully help me get it right! On the inside I wrote, well, typed: We are so glad you are here, Welcome to the Ben Hill Family. Then I stamped the back. I even used my cricut to make mini envies for these 4" by 4" cards.
I said mini, right! Hope I inspired you. Thanks for stopping by! See you soon.

6.23.2019

Flower Challenge #33

Welcome back!
I have been itching to get back to my card making. I pulled out my wreath builder template and started playing around. Taking after Jennifer McGuire, I started playing with small stamps.Take a look.


These were a small themed set I bought 10 years ago from Hero Arts. I used Distress Oxide inks and the Wreath Builder template to create the background. The sentiment is from a new Picket Fence stamp set I purchased. I stamped it in Black ink and then a second time with Veramark ink and used clear embossing powder for a finished look. I think I have to make a few more of these! Thanks for stopping by!

Summer, Summer Summer!

Welcome back!
Summer school is underway, and I am crafting my little heart out! Would you believe that my grandbaby is a YEAR OLD? We had her first birthday party, it was ELMO themed! I made a cute small banner for the front of her high chair for pictures of her smash cupcake. Take a look:
Here she is smashing her cake:
She LOVED her party!
I also made cookie monster print and cut images for her cookies. I will add the picture as soon as my son comes over. These are on his camera.
My cricut is the best!  Thanks for dropping in!

6.01.2019

Simple cards - distressed patterned paper

Welcome Back,
I am so relieved that the school year is over. I have been de-stressing by creating distressed birthday cards! (that's funny). I purchased a new bookcase to replace a smaller shelving unit in my craft room. OMG, what a huge difference. I loaded it up with items I haven't touched in a long time....including patterned papers.
Just looking at that new bookcase gets me inspired to get creative. So I pulled out my patterned papers and made some backgrounds. Take a look:

 I found some honey comb themed papers that were already pink and yellow. I distressed them a bit more by adding more ink.

 These papers came from a Tim Holtz style paper pack from another company. I had to give them a try. I think they look rather male-like, right?

 These remind me of an old desk with faded papers covering the top of it. I love the playing card peeking out! Same grunge type paper pack.
The left one is interesting, but my husband says it is like snake skin to him! whaaa? I like how they turned out. This stamp is new from Picket Fences. I think it will get a lot of use in my collection.Glad you dropped in!

4.06.2019

Crafting with a head cold!

Welcome back,
What a month! I knew that that these last two and a half months after spring break would be crazy, what I didn't expect was to get a head cold and laryngitis in the middle of it! I really am just getting my energy back, and I will be back to normal in a few days, I am sure. Meanwhile, I have two similar happy anniversary cards to post, take a look:

 The background was my main focus, I created a much larger panel with the new distress oxide sprays. I only have 3 colors so far - Mermaid Lagoon, Picked Raspberry and Fossilized Amber. I love how the colors mixed and blended on their own. I them splashed some picked fence paint to create the white dots. It looks like a night sky sort of to me.  :)

On both panels, I used the Happy die cut from Pink & Main, and and the stamp Anniversary from a older Hero Arts set. I wanted to not distract from the background. Clean, and simple. Thanks for dropping by. I would love a comment before you go!

3.24.2019

Spring break, over..... :(

Hello, and welcome back!
I am sad to report that my long-awaited spring break vacation is officially over tomorrow! (sigh)
But I did create a bit over the break. I overcame a creative block. I tried and tried to push through, but the block held until the end of the week, where upon inspiration, I conquered! Here is the card that inspired me!

This card was posted by  Cyndi Landrigan from the Tim Holtz Addicts FB group. She gave me permission to pin it - Click HERE to see it on Pinterest. If you would like to shop at her store, click HERE.

I created these backgrounds with distress inks and a handful of Tim Holtz stencils. I used Wild honey mostly. For the flowers I used Distress Oxide inks on a separate piece of cardstock and used mostly abandoned coral, picked raspberries, and cracked pistachio. (maybe a touch of wilted violet on the left one) and mounted them behind the die cut. The tricky part was not losing the tiny-weenie pieces from the die and re-attaching them to the flower once the backing was attached!

The sentiments are from TH, with the exception of the middle one....I believe that is a very old Hero Arts rubber stamp that I unmounted and I pull out occasionally.


 Here is a close up of the sentiments. I stamped with black ink, let dry, then stamped again with versa-mark ink and clear heat embossed them.


Thanks for stopping by, I have a few more cards I would like to share this week! Wish me luck, the next two months of teaching is going to be CRAZY!!! Leave a comment, it will make my day!

3.06.2019

More play time with Tim Holtz!

Hello,
Thanks for coming and dropping in. I am having a great time creating sets of cards. Take a look:
Tim Holtz Wildflowers, distress paint background, silhouette flowers, black
I am beginning to feel comfortable letting go of control and going free with TIM HOLTZ style! It is very freeing! I have so much more to learn, and confidence to gain, but I LOVE the colors!

Tim Holtz Wildflowers, distress paint background, silhouette flowers, black

I tried to stamp the background with picket fence and a TIM HOLTZ background stamp. You can see it just a touch. I love the look, even though it did not show through as much as I wanted.

Tim Holtz Wildflowers, distress paint background, silhouette flowers, black

I think I need to collect his "something to say" stamps. THEY are awesome. They fit any occasion, and they are so uplifting! I love the LARGE size of them. They dominate the cards.

*UPDATE* This is the card I am going to send to Tim to wish him well from his heart surgery. Hope he likes it!  :)

Tim Holtz Wildflowers, distress paint background, silhouette flowers, black

I purchased his larger wildflower, and now the older one look SO tiny to me!  LOL I wish I could mix them both, My husband wishes I would just get away from wild flowers altogether. Ahh well...

Tim Holtz Wildflowers, distress paint background, silhouette flowers, black

Thanks for dropping by! I am giddy with delight from the bright colors on this cards. Who shall I give them to? That is the real question!

I joined a challenge:    The Flower Challenge #30 - Anything Goes

3.03.2019

Lots of fun...

Hello,
Hope you are having a good week! I am still playing with my Birthday Blueprint stamps from Tim Holtz. I enjoyed the balloons, and now I am playing with the cupcakes! These were fun to create. I am getting so much done. But my craft room is a disaster!
Take a look:


I love the look of the craft cardstock in the background. I decided not to distress the card, I wanted to keep the look crisp and clean. I did use patterned paper for the left card. The cupcake wrapper is striped with pick stripes. There is one lonely heart that appeared when I cut it out. The frosting is actually a patterned paper of roses with glitter on it. It worked great for the clumpy look of frosting!

 I colored these with my zig markers. I LOVE them! I have every color I need, and everything I use them on looks awesome! I don't think I will ever get the hang of copics, I think I will stick to watercolors. :)

Again, I used my watercolor markers, and blended my frosting with pinks and purples. Thanks for dropping in. I would love a few more followers! OR a comment will make my day!

3.02.2019

Three Day Weekend! YAY!

Welcome back,

Here in Tampa Florida, we have a yearly festival called STRAWBERRY FEST. I teach in the county that puts on the festival. So, this year, the entire COUNTY of schools takes the day off, and lets the kids and the families enjoy the event. I went several years ago, and the crowds and chaos is just not my thing. But I have more time to play!
I am in love with these Tim Holtz birthday blueprint stamps. I know they are older, but I just purchased them at a stamp expo and had to try them out. Take a look:
Tim Holtz Blueprint balloon stamp card
This card, I used polka dotted paper for the three elements (balloon, title and sentiment). I distressed the edges with distress ink.
Tim Holtz Blueprint balloon stamp card


 This card, I stamped on an alcohol inked panel of Yupo paper that I had not liked, and put in my "use some other time pile" and it worked great for this! I had enough to use it for all three elements.

Tim Holtz Blueprint balloon stamp card

 I wanted to try a plaid paper. I know the plaid doesn't curve around the balloon, but I like the look!

Tim Holtz Blueprint balloon stamp card

 Here I used another alcohol inked background that I created using diagonal stripes. It looks like it curves with the balloon! YAY I mounted it on thick frosted vellum I had left over from another project. I love the effect it gives.

Tim Holtz Blueprint balloon stamp card

Here are all four together! I have entered these cards into challenges.

Simon Says Stamp WEDNESDAY - Anything Goes!
Little Red Wagon- LOVE IT (this blueprint stamp set)

Thanks for stopping by. See you again soon. Please leave a quick comment. It makes my day!