Showing posts with label paper crafting. Show all posts

12.28.2017

Christmas crafting for my co-workers 2017

Welcome Back!
With my new, beautiful crafting space installed and begging to be broken in, I got right to work! I pulled out all my Christmas stuff and decided on a combination of cards and tags as gifts this year. Take a look:
 I have tons of room for my cricut, so I went shopping for some adorable SVG's. I am so in love with this penguin!
Ok, my second favorite SVG. This snowman is SO cute!!

 Mark created the Santa hats as a SVG for me. I cut them out of red and green paper and made them double sided! They were my favorite tags this year.
 I came across a few of my cards from a few years back, and wanted to play with these stamps again. They are fool proof, and beautiful. I enjoy adding ribbon and fibers on my cards. Not many crafters do.


I am totally in love with my new craft space. It makes everything SO much more enjoyable and space is not as much of struggle to craft. More to come!

4.05.2015

HAPPY EASTER!

Happy Easter Everyone!

My husband and I are going to Sarasota to have Easter brunch with my Sister and her husband. I was itching to make something to give them as gifts when we arrive. I found these Easter basket buddies, and had to make them. Take a look:


How sweet are they? I had forgotten how much fun paper piecing can be. I even used my swatch book to help me choose the right colors of ink to shade all the pieces. That came in handy.  :)

I bought these at Treasure Box Designs. The bunny is one of a set of  8 designs to make. They can be tweeked for Valentine's Day as well. Unfortunately, they came with no directions and no eyes. I tried to make my own, but I think next time I will print out pre-made ones. My eyes look kinda sad-ish. I looked for an e-mail address to write the company about the eyes, but to no avail. I know my sister and Ross will love these!

Enjoy your holiday! Please leave a comment, it would make my day!


6.14.2014

School is Out! Summer Vacation is here!

Hello everyone,
I am so sorry that I am not able to keep my blog up and running while I am teaching. It simply cannot be done. I am wondering if keeping a blog seasonally is possible. I noticed that as soon as I stop adding new content, my new comments cease, and the incoming spam increases. I thought that even if I am not adding new content, people would continue to visit past posts and still leave comments. (I know I do on other blogs I visit). So why don't they do that to mine? That is very puzzling to me that the blog world does not work like that. Anyhow...

I am pleased to say that I have an abundance of free time on my hands now, and I am itching to get crafting. But before school let out, I did one last project with my students that I wanted to share. It was amazingly easy to create, and the affect was huge.

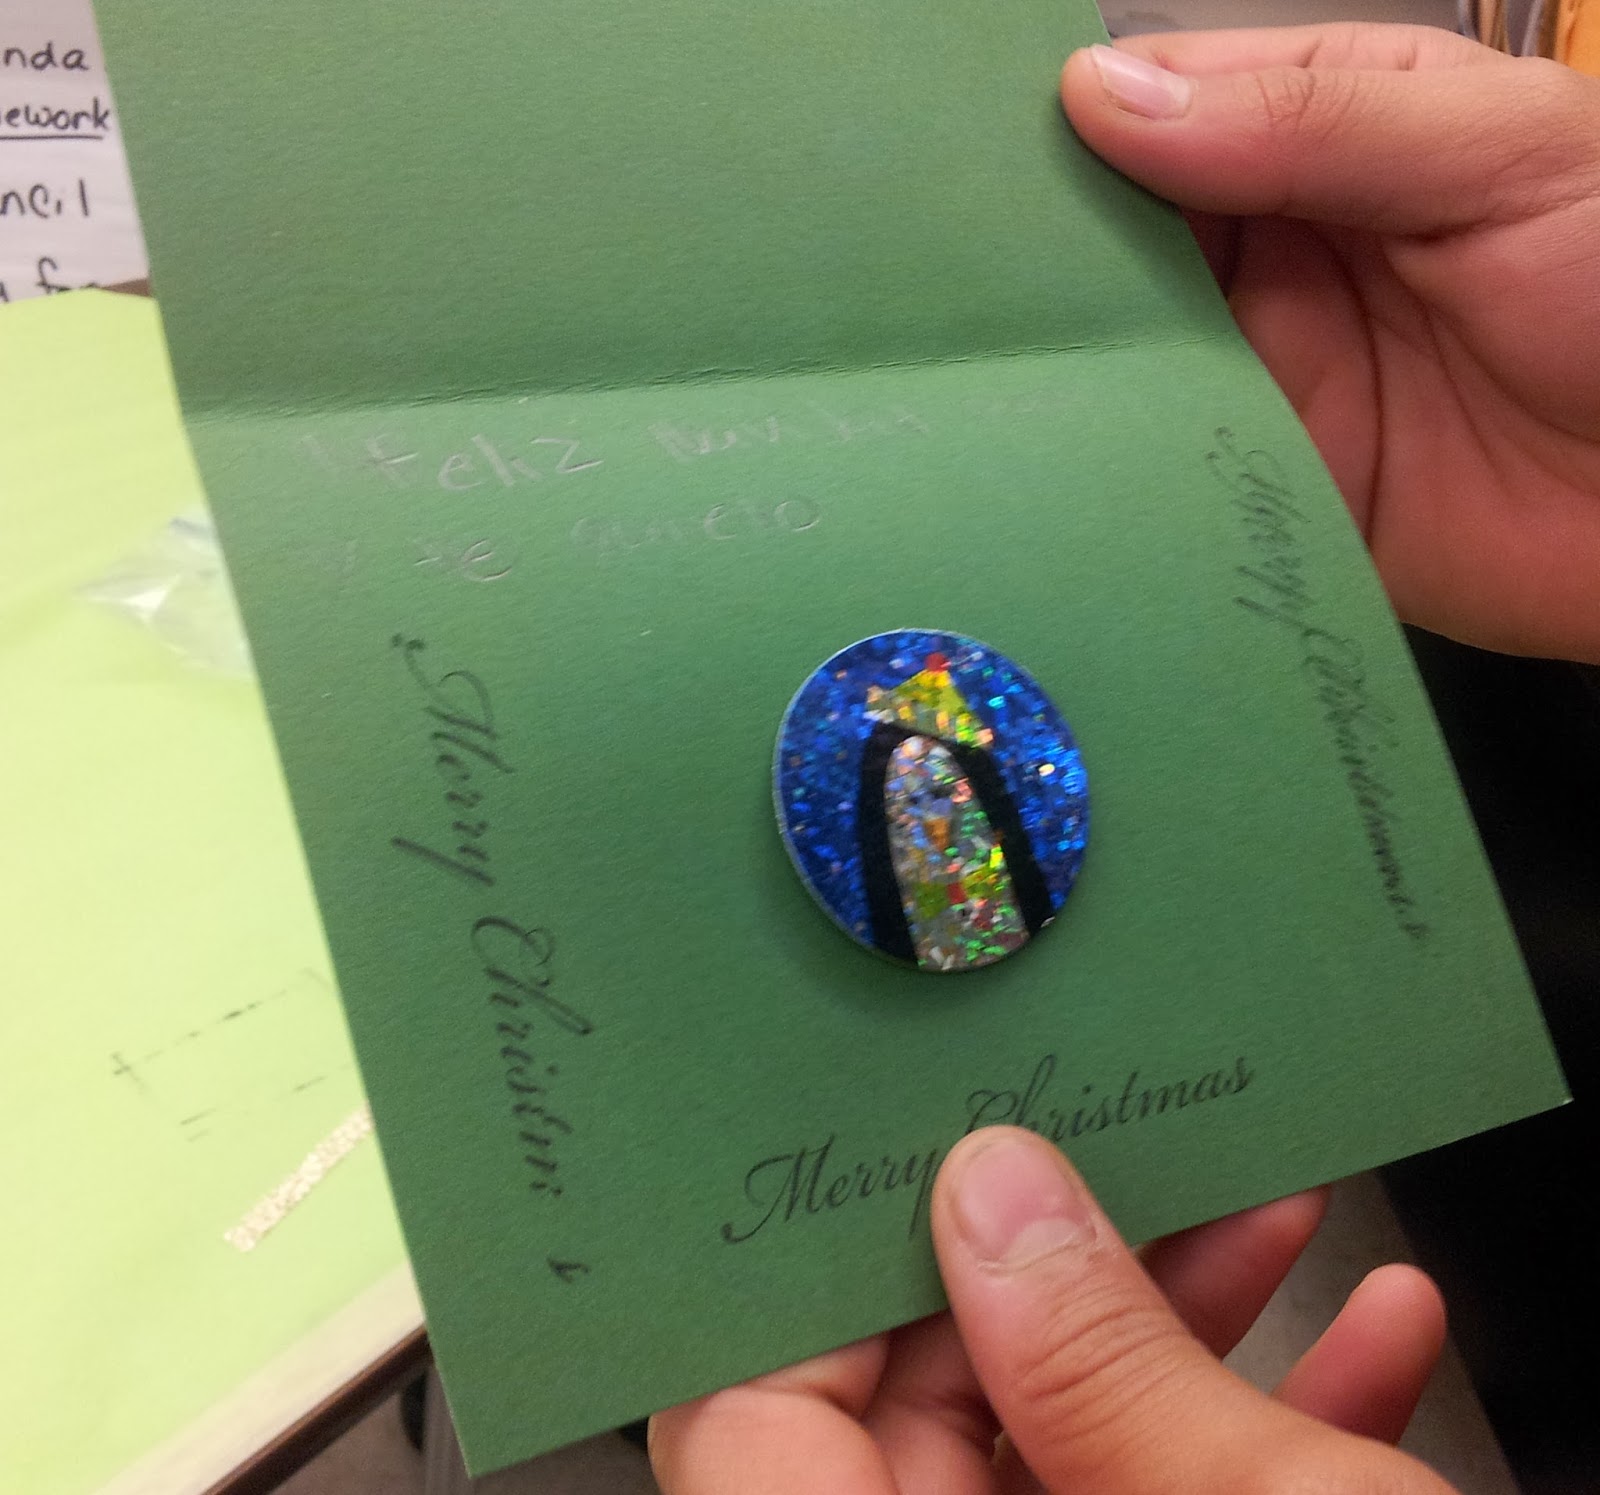
I told the students to pick one of the card designs, assemble the card, and on a separate piece of paper, I had them write out a message to any teacher (except me) that they wanted to say thank you to for all they did this year. I helped them form their ideas, and I approved them, and typed them up. (there was no time to have them type them up themselves, although I wanted to have them do it) They glued the messages in, and decorated the envelope. We even practiced how to approach a teacher and deliver a thank you card. So many of the students were not sure how to do that. In the end, they were very pleased with themselves, and I know the teachers were touched by the gesture.

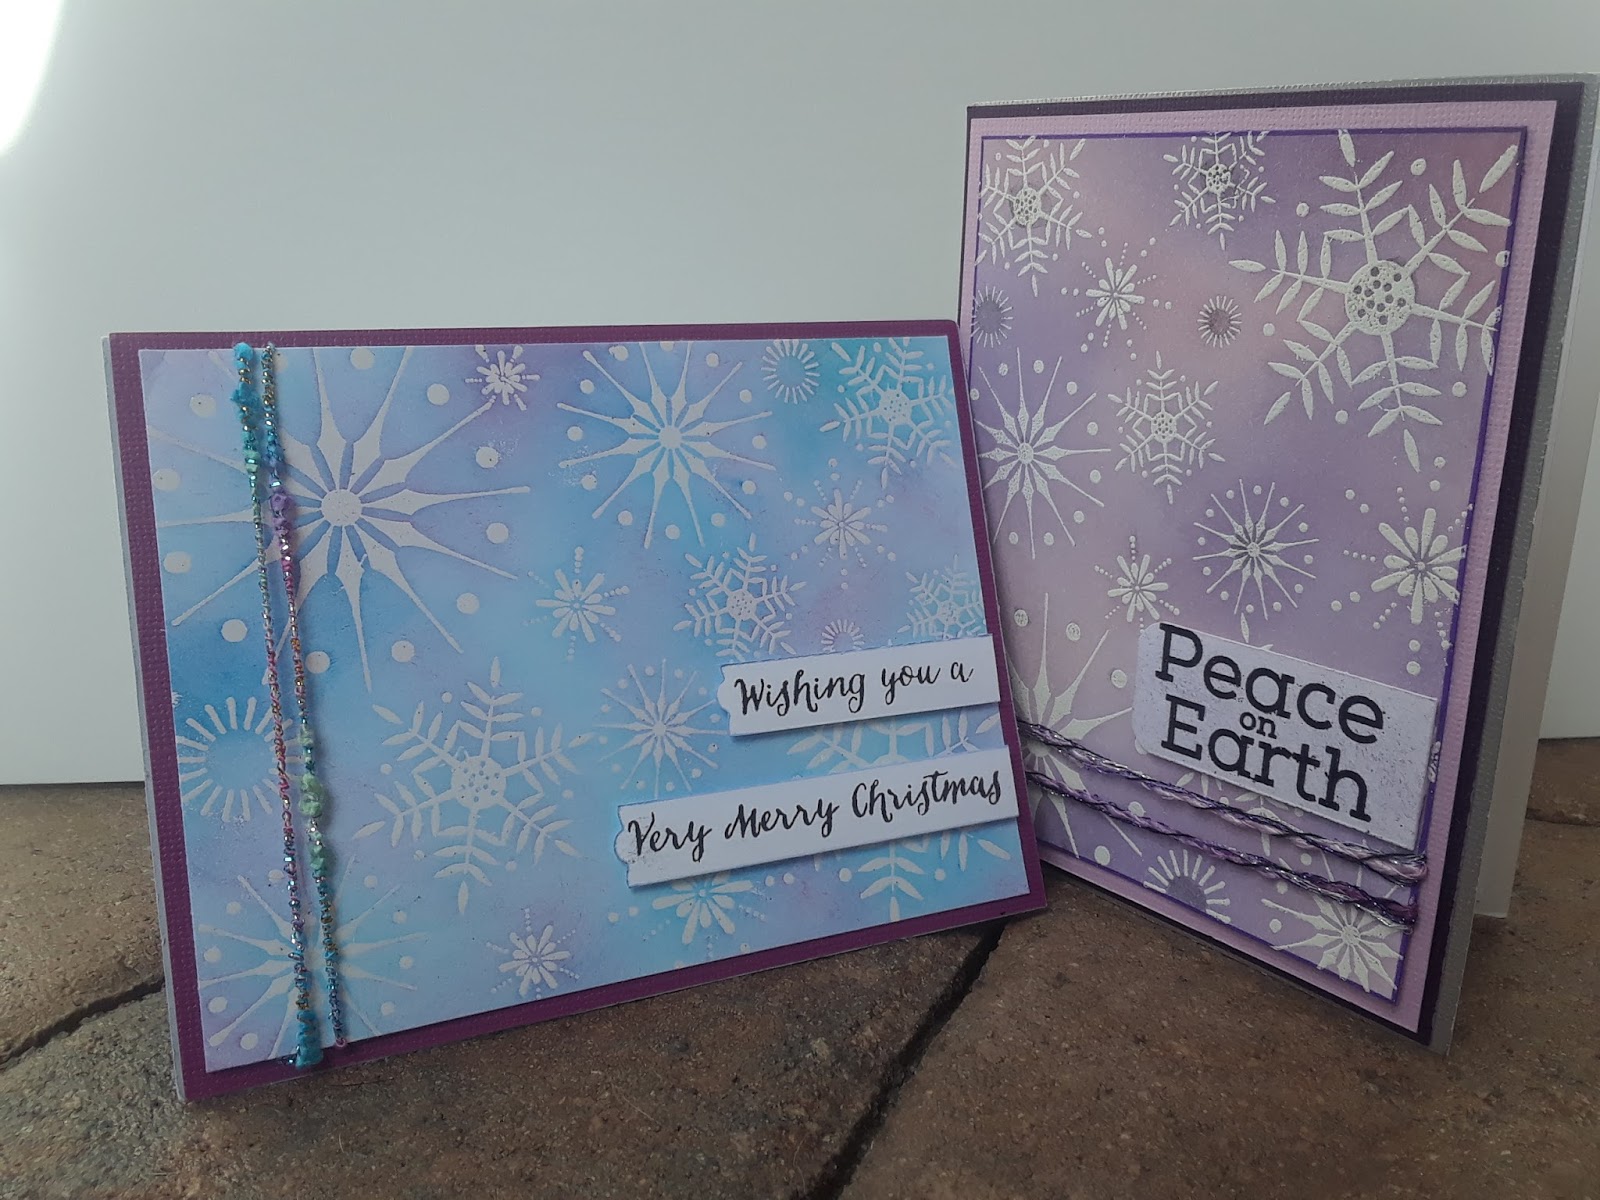
Here are three of the card designs that they could choose from. I created them in publisher, saved them as .pdfs, and printed them on the school's color laser printer four to a page. They were 4 1/4 by 4 1/4. I have learned that students don't write much, and small is cute! :) Not to mention less expensive. I even created matching envelopes with my Envelope Punch Board.


The students could choose any background color they wished, and then they adhered that to the card base. The combinations were fun! The center one was created and abandoned by a student. It is glued askew, but I used it anyway.  he he. Enjoy!

12.27.2013

Card Making in my Classroom!

This holiday season, I brought three boxes of Christmas Crafting supplies to my classroom and gave the students a chance to make 2 cards each. It was a huge success! Everyone had a great time, only one student out of about 50 declined. I invited many of the neighboring classrooms to send students to my room to join in the fun! It was a blast to see what the students came up with using all the materials I provided. They each received two card bases (they chose the colors) and two envelopes. Then they could write, color, stamp glue and stamp anything anywhere they wished on the card. I provided ribbons, inks, stamps, images, punches, and tons of cardstock and stickers galore! (see the pictures) What creativity!
  

11.25.2013

Paper Crafting: Frugal Coupon Organizer

Good Morning!
     I am up bright and early this morning to share with you a project I just completed. I was in need of a coupon organizer that held all my LONG coupons, and was easy to hang on to. (I misplaced my last one) So, I scoured the internet for ideas. I didn't find exactly what I was looking for. So......and came up with my own. (like I so often do)
     This is what you will need if you want to duplicate my idea. Feel free. Isn't that what blogging is all about?
You will need:

  • 5 -7 heavy duty sheet protectors
  • 5-7 pieces of 8.5 by 11 cardstock (any color will do)
  • A sewing machine (I chose a fancy leaf stitch) and any color thread you wish.
  • A ruler or straight-edge
  • A razor blade, or a exacto-knife or something similar
  • A three hole punch
  • A three hold punch folder/binder of your choice
  • A label maker

      I cut open the page protector on the left-hand side and slid in the cardstock. Then I measured my sheet into thirds. I stitched all the way down the left side, and across the sheet, from edge to edge including the top. This picture shows the fancy leaf stitch as well as the straight stitch across the top. I had trouble hole punching it, so I ended up discarding this sheet and creating another one. You can use any stitch you want and make one, two or three pockets if you wish.
     After all the sewing is finished, I took my ruler and exacto-knife and slit a line just BELOW each stitch to form an opening. Stopping at the left stitch and just short of the right edge. (The stitches form the bottom of the pocket above) Then, if you wish you can flip the page over on the back, and you have three more pockets on the back. (if your stitches aren't too ugly to look at) CAREFULLY hole-punch the page and place it into a folder or binder.

     I created 4 pages, which gave me 24 pockets. Here are the categories I used. (This I thought was the more difficult part to decide on). These categories may not fit your needs perfectly, but I do know that EVERY coupon will fit in a category in this list. So re-arrange and make it your own.  You can make as many pockets as you need:
  1. Baking/Spices/Condiments
  2. Bath/Skin/Baby
  3. Beauty/Cosmetic/Hair
  4. Beverages/Alcohol
  5. Boxed/Canned
  6. Breakfast/Bars
  7. Cakes/Candy/Popcorn
  8. Cookies/Crackers/Snacks
  9. Dairy/Produce/Salad/Bakery
  10. Frozen – Meals/Others
  11. Frozen – Sides/Desserts
  12. Household Cleaners/Air Fresheners
  13. Laundry/Cleaning/Dishes
  14. Meat/Seafood/Lunch Meats
  15. Medical/Medicine/Feminine
  16. Miscellaneous
  17. Non-food Items
  18. Paper/Plastic
  19. Pasta/Sauces
  20. Peanut Butter/Jams & Jelly
  21. Pet Supplies
  22. Others
  23. Restaurant Coupons
     Now mind you, I am currently couponing for a family of three. I only keep the coupons I will use. This project does not provide you with HUGE pockets that hold large stacks of coupons. I would estimate each pocket will hold 10-20 coupons each. If you need more room you could break down the categories further. Hope this was helpful. If you can, leave me a message, I would LOVE to know if you used it!

7.29.2013

Paper crafting is so much fun!

A friend of mine needed a banner for a high school reunion party. She found a sample on pinterest that she adored, and wanted something similar. She thought she'd find a banner kit at the local craft store. I told her I have all the supplies in my craft room, I would LOVE to create a banner for her. She was so relieved to hear that!
I asked her what her school colors were and what she wanted to the banner to say. Her school colors were orange and white, her mascot was the braves.


That weekend she posts a picture of the banner hanging in the venue of her class reunion! She was stoked that it came out so well. Here is a picture.

 I gave her a spool of white and a spool of orange ribbon, and decided to het her figure out how she wanted to hang it. I honestly thought she would hang the 1983 on a separate line, but it looks great! It was so easy! I had all the paper and ribbon on hand, and my cricut and sure-cuts-alot software did the rest! She had a great time at her reunion.