1.04.2018

Card Challenge: Freshly Made Sketches CAS FMS318

With all my time off, I am able to join in a challenge or two! I am excited to be able to join Freshly Make Sketches right off the bat in the new year! Here is the sketch:

Here is my take on the sketch:

Currently, it is 54 degrees in TAMPA, FL. I will not be going outside to take my photos as I usually do. It is TOO cold. I am sorry for the terrible pictures, it is the best I can do right now. Next week should be better!  :) Thanks for dropping by! FMS318

Supplies:
Stamps: hummingbird - inkadinkado
Sentiment: hero arts
Paper: Neenah Solar White, black cardstock
Ink: Distress Inks and water, Simon Says Stamp Black Ink, 
Accents: Gemstones - Aqua, ribbon
Challenge: Freshly Made sketches #FMS318

DIY Card Display Rack - Card Making

Hello,
Welcome back! with my two week break, I have been very busy creating in my beautiful craft room. my husband built me an awesome craft bench, and I have been so creative ever since!

I wanted to share a very simple card display rack I put together quickly. I was tired of ruining cards simply because they touched each other while they dried! I had the room on my desk top, I just needed to make a drying rack!

Originally, I wanted to create the entire rack out of foam core to match my ink pad hold to the left of it. Unfortunately, I ran out of foam core. :( Fortunately, my handy husband had coroplast hanging around in the garage from a job he did. The rack itself is a think poster board I had. They shelves I created from card stock I scored 5 times half an inch apart and folded. then just hot glued on the front of the rack 6 inches apart! How simple is that?

Now I have a place for all my backgrounds, and cards that are not finished! What a simple creation that makes such a huge impact on my creative space!  Enjoy!

1.02.2018

RGB Codes for Distress Oxide Inks!

Good morning!
I searched the internet, like I usually do for a new idea I had, that I was sure someone else had thought of first! Low and behold, I could not find it! Let me explain.

I came across Shari Carroll's Distress ink combo sheets that she created for Simon Says Stamp blog. I had miniaturized them, and printed them out a while back. I taped this sheet on my craft wall above my distress inks, and refer to it often. Then I came across Justine's blog where she has some AWESOME distress OXIDE combos that I had to try, so I wrote them down on my combo sheet. Then realized, I wanted to record them as Shari had with the little watercolor circles and the name next to it.

SO.....needless to say, I wanted to add one to Shari's idea, to include all the oxide inks, and then make a combo sheet of my own of my favorite combinations! I wanted to share it with you!

First, I needed all the RBG codes for all the distress Oxide inks. I searched all over the ranger site, but to no avail. Then I searched blogs, and pinterest, and found one hit, but it wasn't quite right. Then I thought, if ranger already chose the colors in their swatches, (which I had in my files) then I can use the eye dropper tool in inkscape, and get the codes myself. With a little elbow grease, and a bunch of patience, I could make them!

I wanted to make the swatches in word so that I could copy and paste them as I needed to make new combos on a separate combo sheet. Take a look:
Here is the word document: click here. I might go forth and create a sheet with all the distress color on it. (I have 24 of them done already) Why not? I'll add to this post if I do. Enjoy!

Labels: distress oxide ink RBG codes, Ranger, Tim Holtz inks, 24 Oxide ink colors. 2018
http://cpjcreations.blogspot.com/2018/01/rgb-codes-for-distress-oxide-inks.html

12.28.2017

Christmas crafting for my co-workers 2017

Welcome Back!
With my new, beautiful crafting space installed and begging to be broken in, I got right to work! I pulled out all my Christmas stuff and decided on a combination of cards and tags as gifts this year. Take a look:
 I have tons of room for my cricut, so I went shopping for some adorable SVG's. I am so in love with this penguin!
Ok, my second favorite SVG. This snowman is SO cute!!

 Mark created the Santa hats as a SVG for me. I cut them out of red and green paper and made them double sided! They were my favorite tags this year.
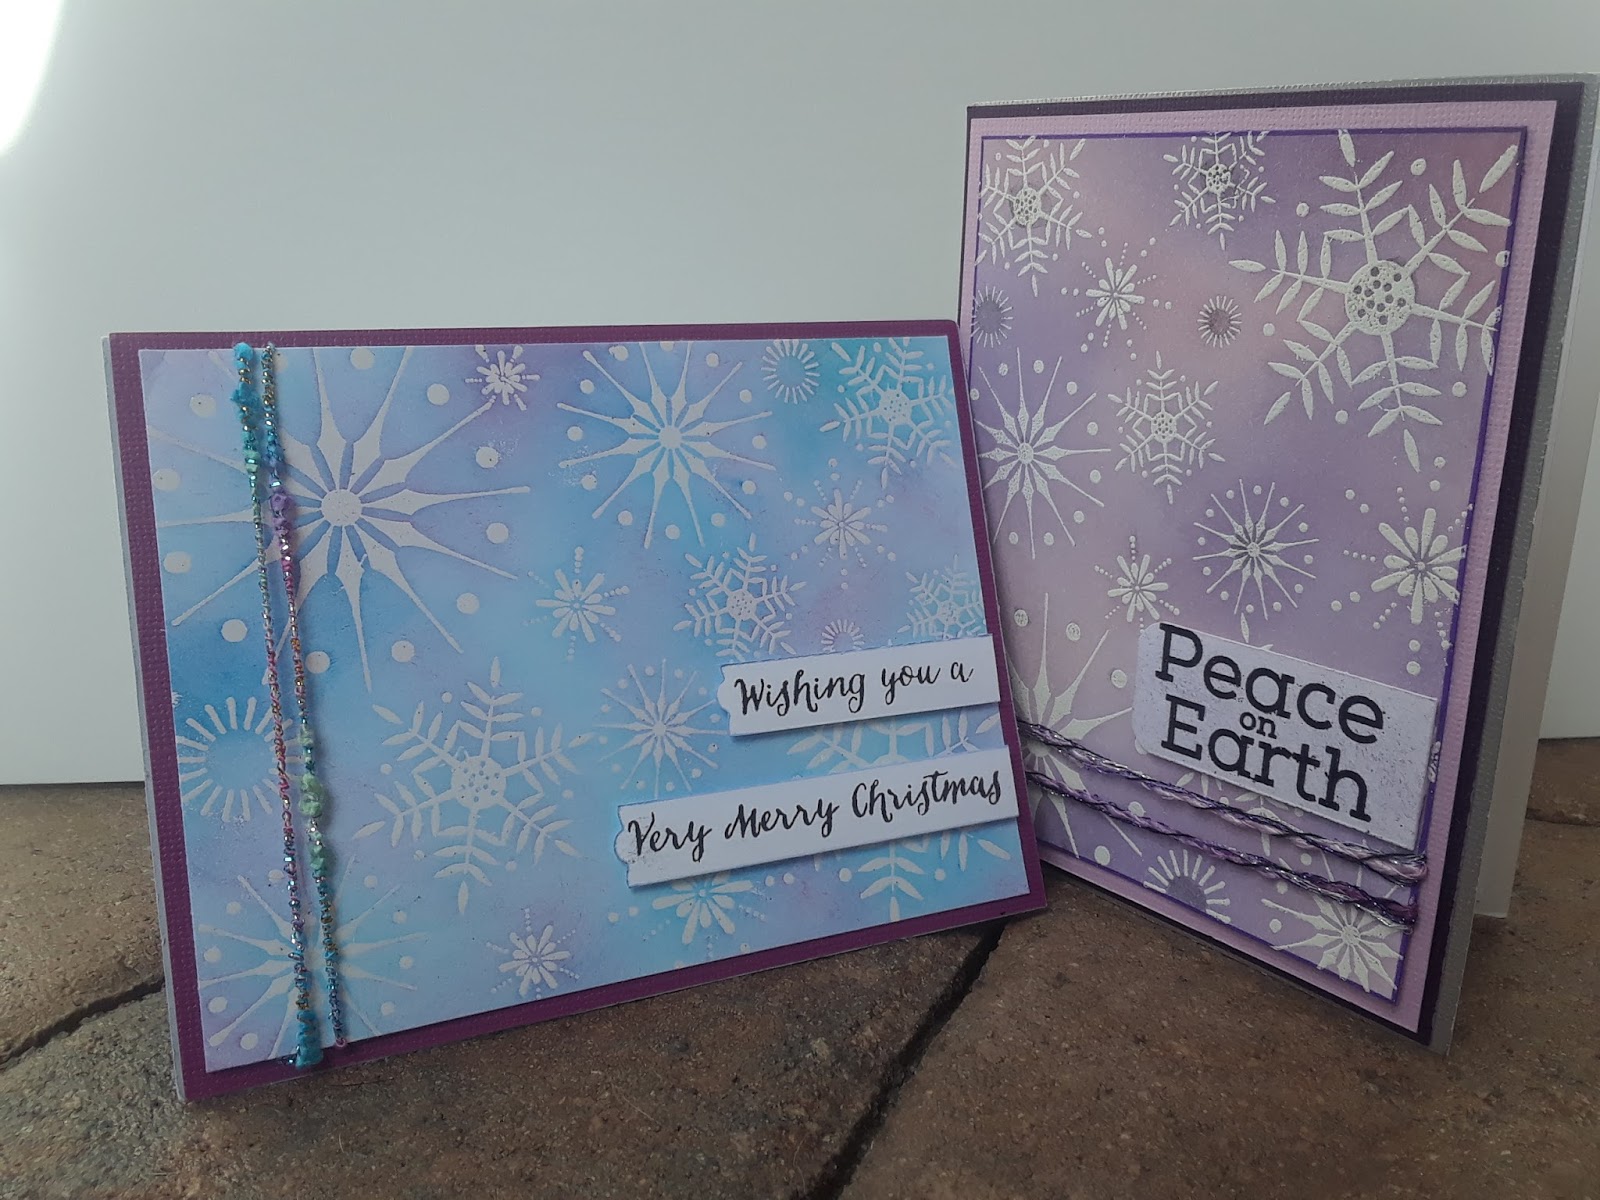
 I came across a few of my cards from a few years back, and wanted to play with these stamps again. They are fool proof, and beautiful. I enjoy adding ribbon and fibers on my cards. Not many crafters do.


I am totally in love with my new craft space. It makes everything SO much more enjoyable and space is not as much of struggle to craft. More to come!

Merry Christmas!

Merry Christmas!
My husband asked what I would like for Christmas this year. Before I could answer, he walked me to my craft room and said "I'm building you a craft bench. No more folding and card tables for you!" and walked away. And that is exactly what he did! Take a look:

These are actually 2 pieces connected together. Each are on wheels and can be re-arranged as my needs grow or change. Mark did mention that they could be work benches for him down the road. (I don't think so, buddy! lol)

I love all this space. I had a bit of trouble using the drawers and cupboards to their fullest. They are really deep, and crafting supplies are in many multiple shallow containers. I am still playing with my storage. I love that my CPU is hidden in the far left cupboard, and he even mounted my monitor on the wall!  More to come!